
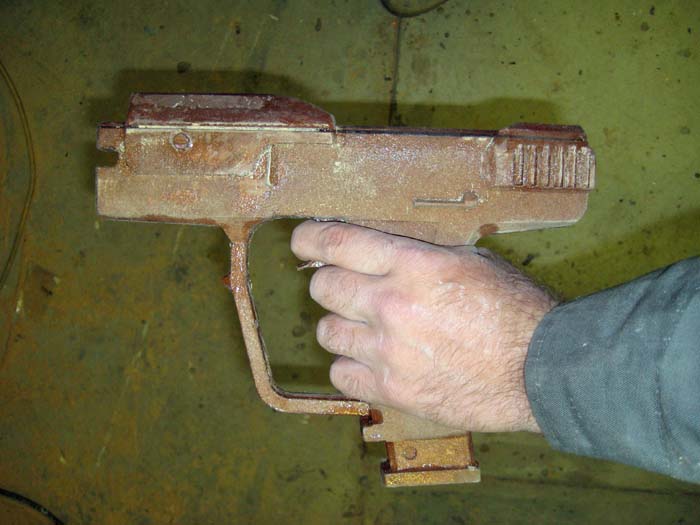
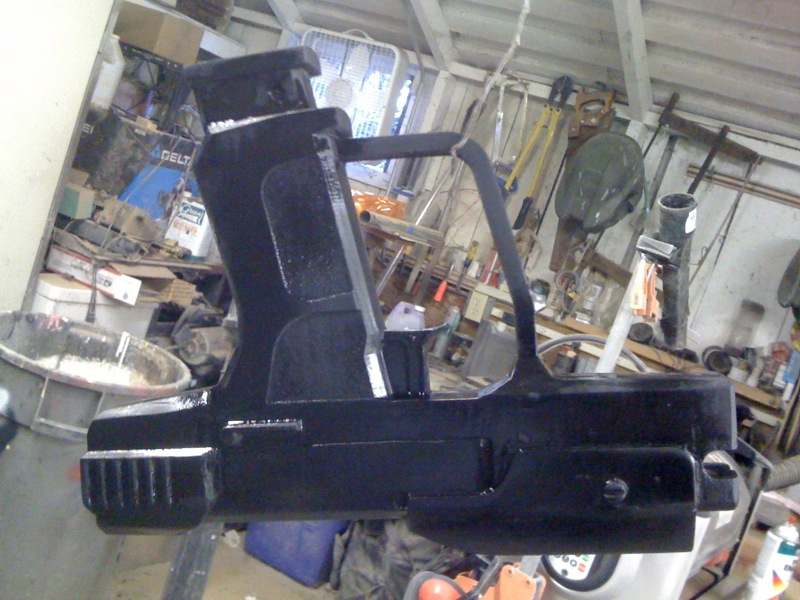
Once the epoxy had cured, I sanded and filed the surface, did a bit of filling along the seams, then put a coat of primer on it:
I spent some time trying to talk myself out of it, but finally decided to add more detailing on this piece. Over a couple of hours, I’d added the magazine release, lettering on the slide, all of the holes on both sides, and the details on the bottom of the magazine. Here's an overall shot:
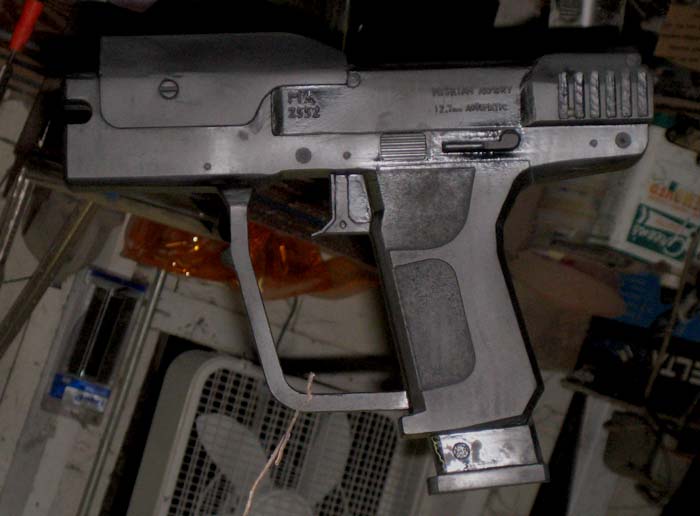
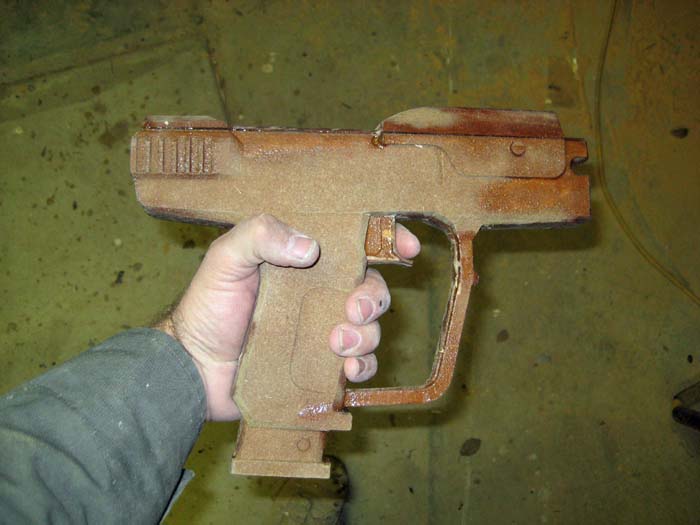
I decided that if I stamped the lettering into the side it would probably end up being filled in with the first coat of paint. With that in mind, I went ahead and engraved the lettering by hand. It's not perfect, but it's there.
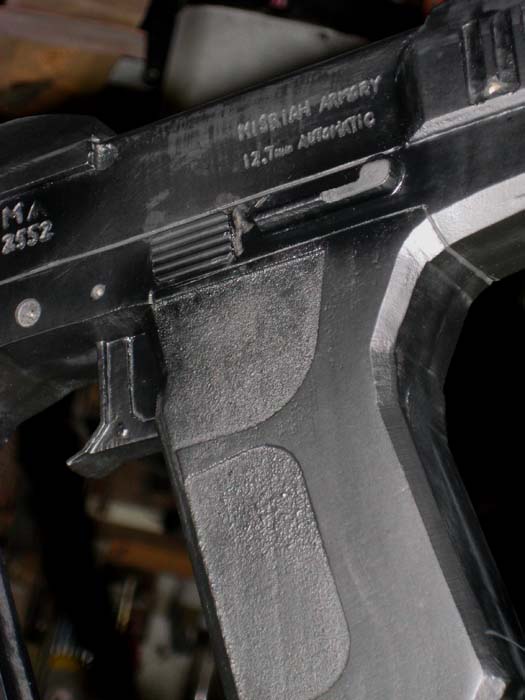
When the casts come out of the mold, if I don't like the lettering it'll be pretty simple to just fill it in or sand it off. Here's another shot:
The in-game model has some Korean lettering on the top of the slide and the bottom of the magazine. I swapped it out for some Japanese Kanji of my own:

Here's the bottom of the mag:

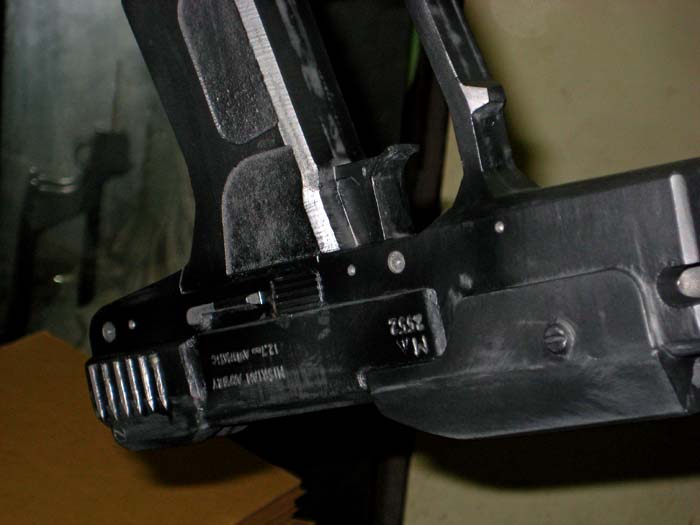
The most complex details I had to come up with were the details at the rear of the slide:

I know it's not perfect, but then again I doubt anybody will be looking at it as closely as I've been for the past few days.
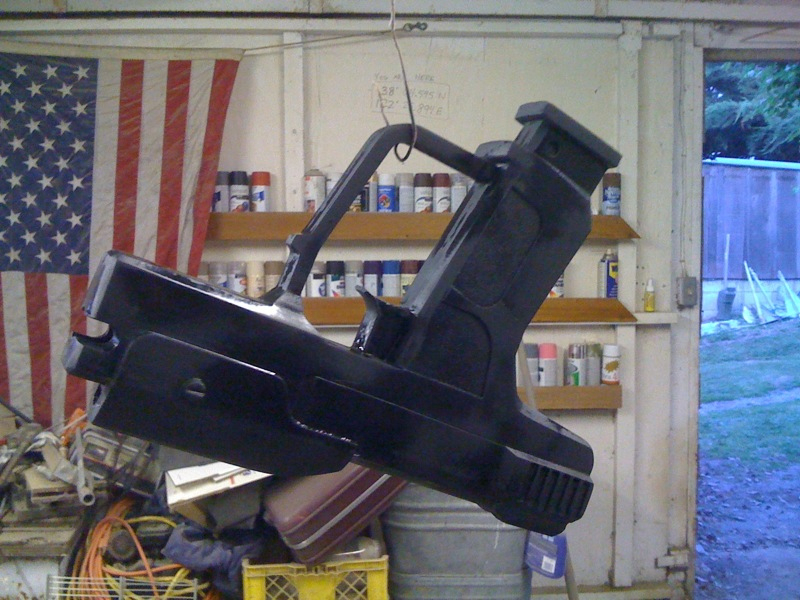
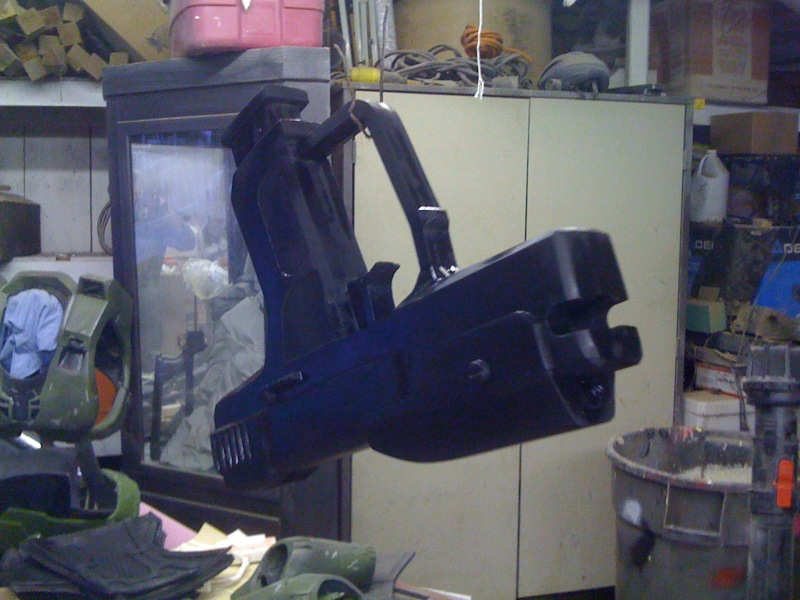
At this point I still have to turn the laser sight and score the little seams on the top of the slide. Then, once I've got it painted glossy in the appropriate places, I'll be molding it up and making a run of castings. There won't be any moving parts so they'll just be big pistol-shaped blocks of resin, but they'll look pretty cool on the shelf or clipped onto my thigh armor.
Stay tuned...
No comments:
Post a Comment